Intercepting HTTPS traffic from a VM for debugging
Tue, 31 March 2026 :: #linux :: #networking :: #debugging
Hi,
In the good old days, when the Earth was young and the Internet was a wild west of plain, non-commercial unencrypted text, intercepting traffic during development was trivially easy. You'd fire up Ethereal (now Wireshark), pick the right interface, and watch every byte of every HTTP request fly by. Life was simple.
Then Let's Encrypt happened, HTTPS became mandatory, and now everything you want to inspect is wrapped in TLS. Not a bad thing for production, but not very convenient when you're trying to figure out why your HTTP client is sending malformed headers or why a third-party API is returning a 400 with no explanation. Especially in current times where application errors are signalled only by "please contact your administrator", or "something went wrong, please try again later" messages.
Anyway, there are a few ways to solve this inspection problem. SSLKEYLOGFILE works if the library you're using supports it (libcurl does, most things don't). Burp Suite is popular in the security world. Http Toolkit sometimes works. But the cleanest approach I've found for inspecting traffic from a VM is to run a transparent proxy on the host using mitmproxy, and silently redirect all the VM's traffic through it with iptables. No changes required inside the VM -- other than trusting the proxy's CA certificate.
Here's the full setup.
The environment
The VM is a Windows 10 guest running under libvirt/QEMU on a Linux host. The guest is connected to the default libvirt bridge virbr0, which is a NAT network -- meaning all traffic from the VM goes through the host. It's the default and easiest setup possible, and that's the part we'll exploit.
The host needs a few things to be in order. First, IP forwarding must be enabled, because the host acts as a router for the VM:
$ sysctl net.ipv4.ip_forward
net.ipv4.ip_forward = 1       # Must be 1
Good. Second, we need iptables to be able to see traffic that flows through the bridge. By default, bridged packets bypass the netfilter rules entirely. The br_netfilter kernel module fixes this:
# modprobe br_netfilter
# cat /proc/sys/net/bridge/bridge-nf-call-iptables
1                             # Must be 1
With that in place, iptables rules will actually fire on packets arriving on virbr0.
Redirecting traffic with iptables
Now we tell the kernel to redirect all TCP traffic from the VM on ports 80 and 443 to port 8000 on the host, where mitmproxy will be listening:
# iptables -t nat -A PREROUTING -i virbr0 -p tcp --dport 443 -j REDIRECT --to-port 8000
# iptables -t nat -A PREROUTING -i virbr0 -p tcp --dport 80  -j REDIRECT --to-port 8000
Verify with:
# iptables -t nat -L -v -n
Chain PREROUTING (policy ACCEPT ...)
 pkts bytes target     prot opt in     out     source               destination
    0     0 REDIRECT   tcp  --  virbr0 *       0.0.0.0/0            0.0.0.0/0    tcp dpt:443 redir ports 8000
    0     0 REDIRECT   tcp  --  virbr0 *       0.0.0.0/0            0.0.0.0/0    tcp dpt:80  redir ports 8000
The PREROUTING chain intercepts packets as they arrive -- before any routing decision is made -- which is exactly what we want. The REDIRECT target rewrites the destination to 127.0.0.1:8000 on the host.
Note that these rules are not persistent across reboots. If you want them to survive, use whatever mechanism your distro provides (iptables-save / iptables-restore, or a service that loads the rules on startup). For debugging sessions, I find temporary rules are actually more convenient -- they disappear cleanly when you're done. You can always write yourself a script to bring them up with just a simple script call.
A note on nftables
On newer distributions, iptables is often just a compatibility shim over nftables, the modern successor to the old {ip,ip6,arp,eb}tables family. If your distro has migrated fully, the iptables command might not even be available. If iptables is missing on your distro, verify that maybe you have the nft command instead.
If it's present, the equivalent ruleset in nft syntax would look like this:
# nft add table ip nat
# nft add chain ip nat PREROUTING '{ type nat hook prerouting priority -100; }'
# nft add rule ip nat PREROUTING iifname "virbr0" tcp dport 443 redirect to :8000
# nft add rule ip nat PREROUTING iifname "virbr0" tcp dport 80  redirect to :8000
In my case iptables was still available and worked fine, so I stuck with it.
HTTP/3 and the QUIC problem
There is a catch that's really easy to overlook. The rules above only handle TCP traffic. The "good old" HTTP/1.1 and HTTP/2 run over TCP, so they're covered. But HTTP/3 is a different story.
HTTP/3 is built on top of QUIC -- a transport protocol standardized by the IETF (RFC 9000). Unlike its predecessors, QUIC runs over UDP, not TCP. It was designed to solve some fundamental Google problems, and since Google has tons of money to burn, they've decided to burn it on QUIC adoption. So, we're stuck with it now. It may address some of the HTTP/1.1 and HTTP/2 problems, but to be honest, I don't really know.
The practical implication for our setup is that if the client is a modern browser, it will likely attempt HTTP/3 first (advertised via an Alt-Svc header or DNS HTTPS records), and that traffic will be UDP on port 443 -- completely bypassing the TCP redirect rules we set up.
It's a question for your tool whether it supports HTTP3 / QUIC or not. For example, mitmproxy since version 11 supports it out of the box. If you're using a tool that supports it, you can just add another rule to catch UDP traffic and that's it:
sudo iptables -t nat -A PREROUTING -i virbr0 -p udp --dport 443 -j REDIRECT --to-port 8000But if you're using some ancient tool, then one simple fix is to just block UDP port 443 from the VM entirely, which forces the client to fall back to HTTP/2 or HTTP/1.1 over TCP:
# iptables -I FORWARD -i virbr0 -p udp --dport 443 -j REJECTUsing REJECT instead of DROP is friendlier -- it sends an active ICMP rejection port unreachable message back immediately, so the client fails fast and falls back to TCP right away, rather than waiting for a timeout.
IPv6
If the VM has IPv6 connectivity, don't forget that iptables only handles IPv4. For IPv6 you need ip6tables with the same rules:
# ip6tables -t nat -A PREROUTING -i virbr0 -p tcp --dport 443 -j REDIRECT --to-port 8000
# ip6tables -t nat -A PREROUTING -i virbr0 -p tcp --dport 80  -j REDIRECT --to-port 8000
# ip6tables -I FORWARD -i virbr0 -p udp --dport 443 -j REJECT
In practice, the default libvirt NAT network (virbr0) only does IPv4, so this may not matter. But if you've configured IPv6 forwarding on the bridge, or if the VM has a routable IPv6 address through some other means, or you're reading this article in the future, when libvirt's network is IPv6 by default, you'll want these rules too -- otherwise the browser will happily use IPv6 to bypass everything you just set up.
Starting mitmproxy
Run mitmproxy in transparent mode on the same port:
$ mitmproxy --mode transparent --listen-host 0.0.0.0 --listen-port 8000Or, if you prefer a browser-based UI:
$ mitmweb --mode transparent --listen-host 0.0.0.0 --listen-port 8000Transparent mode is important here -- it tells mitmproxy that connections are being redirected to it, and that it should recover the original destination address from the socket (via SO_ORIGINAL_DST). Without this flag, mitmproxy would expect a regular explicit proxy connection and everything would fail immediately.
Trusting the CA certificate in Windows
At this point, traffic from the VM is being redirected through mitmproxy, but the browser (or any other HTTPS client) will reject the connection because mitmproxy is presenting its own dynamically-generated certificate, not the real one from the server. The client doesn't trust mitmproxy's CA yet.
When mitmproxy starts for the first time, it generates its own CA certificate and stores it in ~/.mitmproxy/:
~/.mitmproxy/mitmproxy-ca.pem        # CA key + cert (keep this private)
~/.mitmproxy/mitmproxy-ca-cert.pem   # CA cert only
~/.mitmproxy/mitmproxy-ca-cert.p12   # same, PKCS#12 format (for Windows/macOS)
~/.mitmproxy/mitmproxy-ca-cert.cer   # same, DER format
This CA is what mitmproxy uses to sign the per-site certificates it generates on the fly. For the HTTPS interception to work transparently, the VM must trust it. You can either copy the certificate file directly from the host, or use the convenient shortcut mitmproxy provides: from within the Windows VM, open a browser and navigate to:
http://mitm.itmitmproxy intercepts this special hostname and serves a page with download links for its CA certificate on all supported platforms. Download the Windows version (.p12 or the certificate installer), then install it into the Trusted Root Certification Authorities store.
The exact steps in Windows 10:
- Double-click the downloaded certificate file.
- Select Local Machine and click Next.
- Place the certificate in Trusted Root Certification Authorities.
- Confirm and finish.
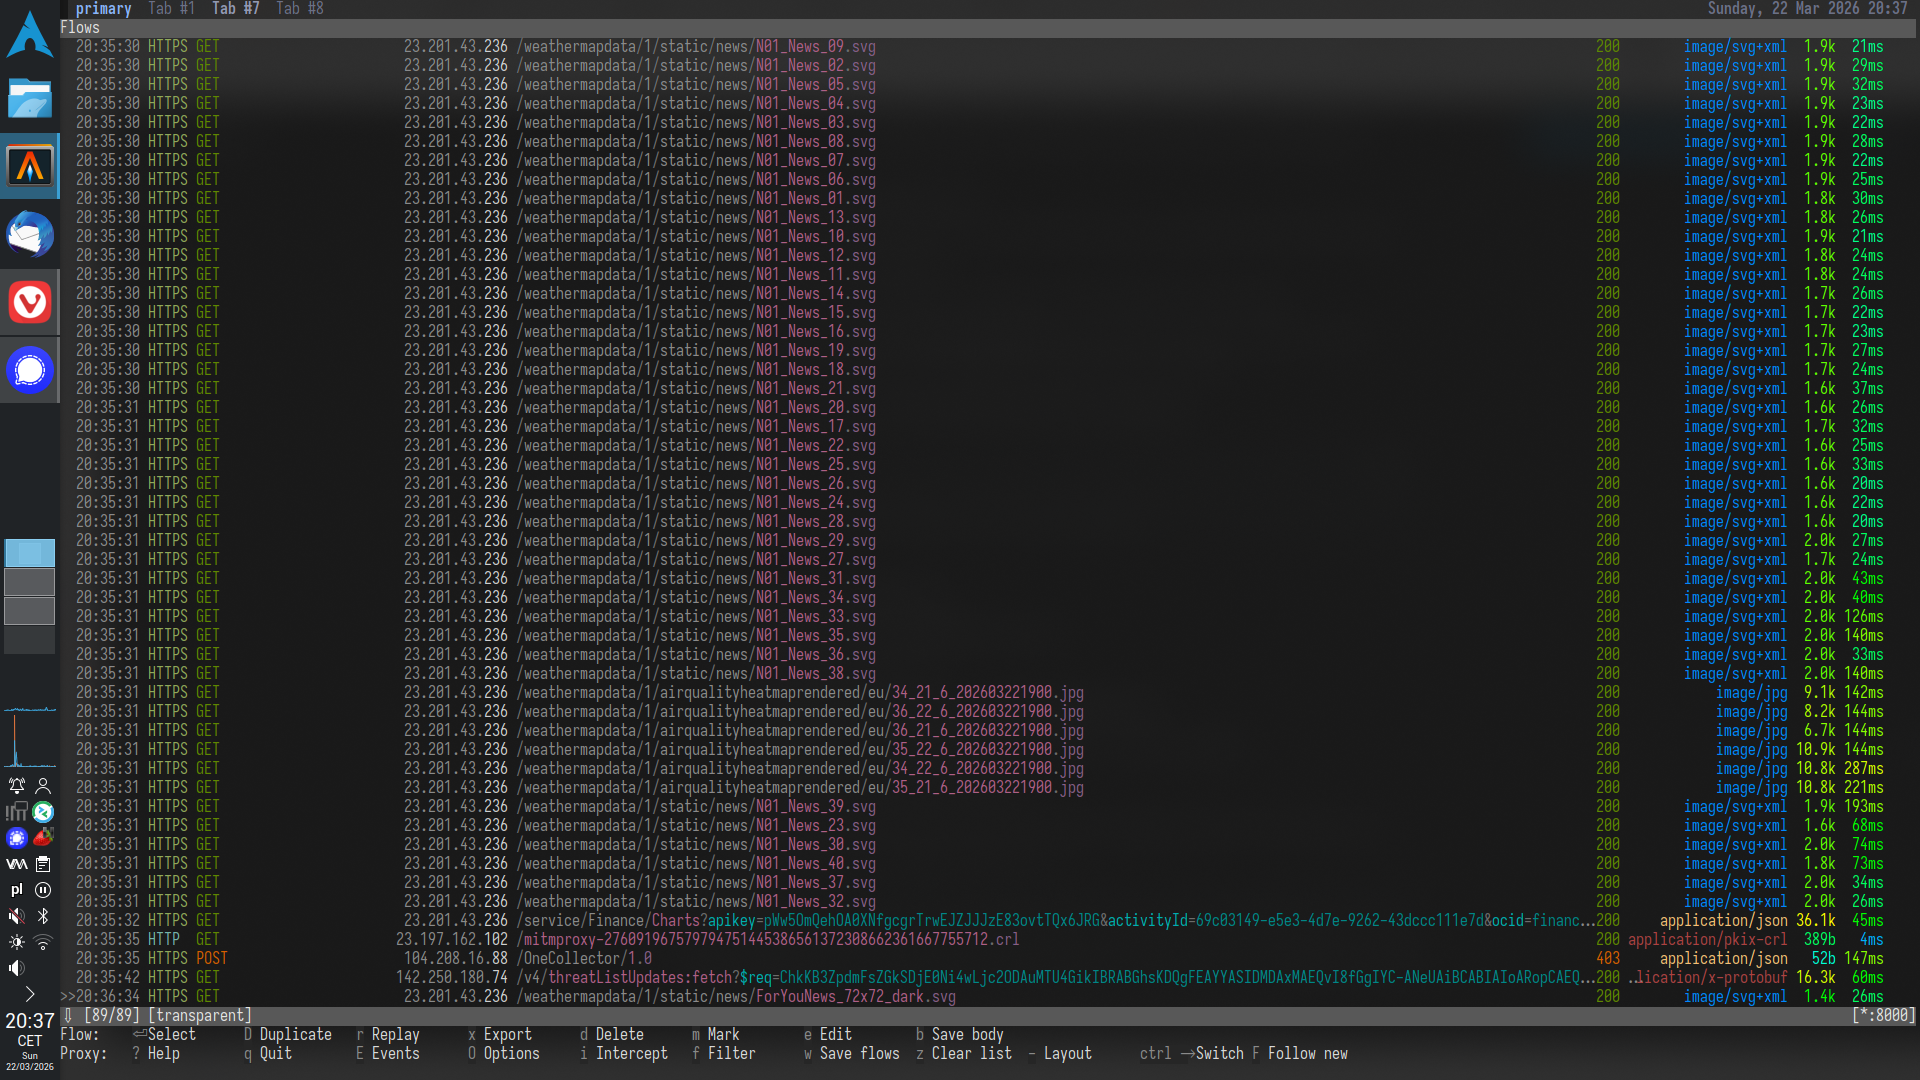
After that, HTTPS connections from the VM will go through mitmproxy silently and without certificate errors. You'll see all the requests and responses -- headers, bodies, everything -- in mitmproxy's interface on the host.
Cleaning up
When you're done, remove the rules:
# iptables -t nat -D PREROUTING -i virbr0 -p tcp --dport 443 -j REDIRECT --to-port 8000
# iptables -t nat -D PREROUTING -i virbr0 -p tcp --dport 80  -j REDIRECT --to-port 8000
# iptables -D FORWARD -i virbr0 -p udp --dport 443 -j REJECT
And stop mitmproxy. The Windows CA store will still contain the mitmproxy certificate, but generally Windows it's full of bloat and trash anyway even (especially) after default fresh install, so that shouldn't matter that much I guess.
Limitations of mitmproxy / MITM approach
A few things that can trip you up:
Streaming and large responses. By default, mitmproxy buffers the entire response body before displaying it. This means long-running connections -- server-sent events, chunked downloads, WebSocket streams -- will appear to hang in the UI until the transfer finishes, or never complete at all. There is a streaming mode that bypasses buffering, but then you lose the ability to inspect the full body. You can pick your poison I guess.
Certificate pinning. If the application hardcodes a specific certificate or public key rather than pulling one from the OS CA store, it will reject mitmproxy's certificate -- regardless of what you installed in the Windows trust store. SSL pinning exists precisely to prevent what we're doing now: a man-in-the-middle intercepting encrypted traffic. This is common in mobile apps and some Electron apps. There is no clean workaround; you have to patch the binary, for example using Frida, which lets you hook into a running process and disable the pinning check at runtime. How to disable this check varies between the apps, because you need to patch the code, but there are Frida scripts that automate this for popular systems, all you need to do is to search for them.
Per-application CA stores. Some apps don't use the Windows certificate store at all. Firefox ships with its own, Java uses a bundled cacerts keystore -- you can add the mitmproxy CA to it with keytool -- and some Go or Rust binaries embed Mozilla's CA bundle directly. For these, you need to import the mitmproxy CA separately into whatever store the app actually reads.
Happy sniffing!
G.
